How to Change Coil in Vape: A Step-by-Step Guide
Changing the coil in a vape is an essential skill for any vaper. A coil is the heating element that vaporizes the e-liquid, and over time, it can become worn out or burnt, leading to a decrease in flavor and vapor production. Knowing how to change the coil in your vape can help you avoid these issues and ensure that you have a satisfying vaping experience every time.
To change the coil in your vape, you will need to disassemble the tank, remove the old coil, and replace it with a new one. The process may vary depending on the type of vape you have, but in general, it is a straightforward process that can be completed in just a few minutes. By following a few simple steps, you can change the coil in your vape and get back to enjoying your favorite e-liquids.
Understanding Vape Coils
As a beginner in the world of vaping, it is important to understand what vape coils are and how they work. Vape coils are the replaceable elements in vape kits and tanks that take the power from your vape battery and turn it into heat, which is then used to turn e-liquid into vapor.
There are different types of coils available in the market, and choosing the right one can make a huge difference in your vaping experience. Here are some of the most common types of vape coils:
-
Round wire coils: These are the most basic type of coils, made from a single wire wrapped around a rod. They are simple to use and produce a decent amount of vapor, but they tend to burn out quickly and may not provide the best flavor.
-
Mesh coils: These are made from a mesh of wires, which provides a larger surface area for e-liquid to come into contact with. This results in better flavor and vapor production, and they tend to last longer than round wire coils.
-
Clapton coils: These are made by wrapping a thin wire around a thicker wire, creating a coil with a larger surface area. They produce a lot of vapor and flavor, but they can be tricky to build and may not be suitable for beginners.
It is important to note that different coils have different resistance levels, which can affect the amount of power needed to heat them up. This is measured in ohms, and coils with a lower resistance (less than 1 ohm) are known as sub-ohm coils. These require more power to heat up and are suitable for direct-to-lung vaping, while coils with a higher resistance (more than 1 ohm) are known as mouth-to-lung coils and require less power.
In conclusion, understanding the different types of vape coils and their resistance levels can help you choose the right one for your vaping needs. It is important to replace your coils regularly to ensure that you are getting the best flavor and vapor production from your device.
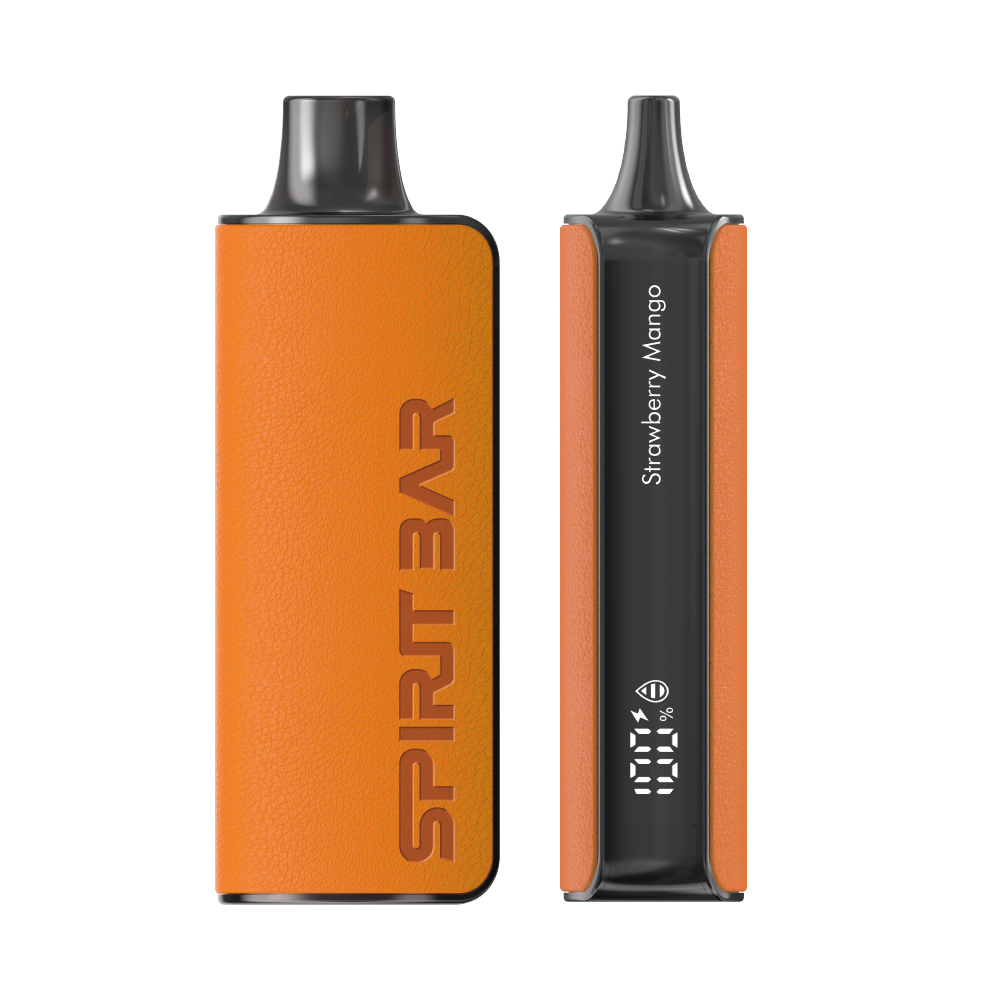
The special juice captures the essence of the samurai spirit with its rich, smoothly pulsating flavor that brings new satisfaction with every puff. The device's slender, leather-textured design evokes the grip of a samurai's katana, making this product a perfect choice for beginner vapors.
Signs of a Burnt Coil
As a vape user, it is essential to know when to change your coil to ensure that your device functions correctly and that you have a satisfying vaping experience. One of the most common signs that your coil needs changing is a burnt taste. Here are some other signs that indicate it’s time to change your vape coil:
-
Gurgling Sounds: If you hear gurgling sounds when you take a hit, it’s a sign that your coil is not functioning correctly. This sound is caused by excess e-liquid in the coil, which can lead to flooding and a burnt taste.
-
Less Vapor Production: If you notice that your device is producing less vapor than usual, it could be a sign that your coil needs changing. A burnt or old coil will not vaporize the e-liquid efficiently, resulting in less vapor production.
-
Leaking E-liquid: If you notice that your device is leaking e-liquid, it could be a sign that your coil needs changing. A burnt coil can cause leaks by allowing excess e-liquid to flow into the device’s airflow system.
-
Change in Flavor: If you notice a change in flavor or that your e-liquid tastes off, it could be a sign that your coil needs changing. A burnt coil can produce a foul taste that can ruin your vaping experience.
In summary, knowing the signs of a burnt coil is essential to ensure that your device functions correctly and that you have a satisfying vaping experience. If you experience any of these signs, it’s time to change your coil.
Preparation for Coil Change
When it comes to changing the coil in a vape, preparation is key. Taking the time to properly prepare for a coil change can make the process quicker and easier, and can also help prevent any potential issues.
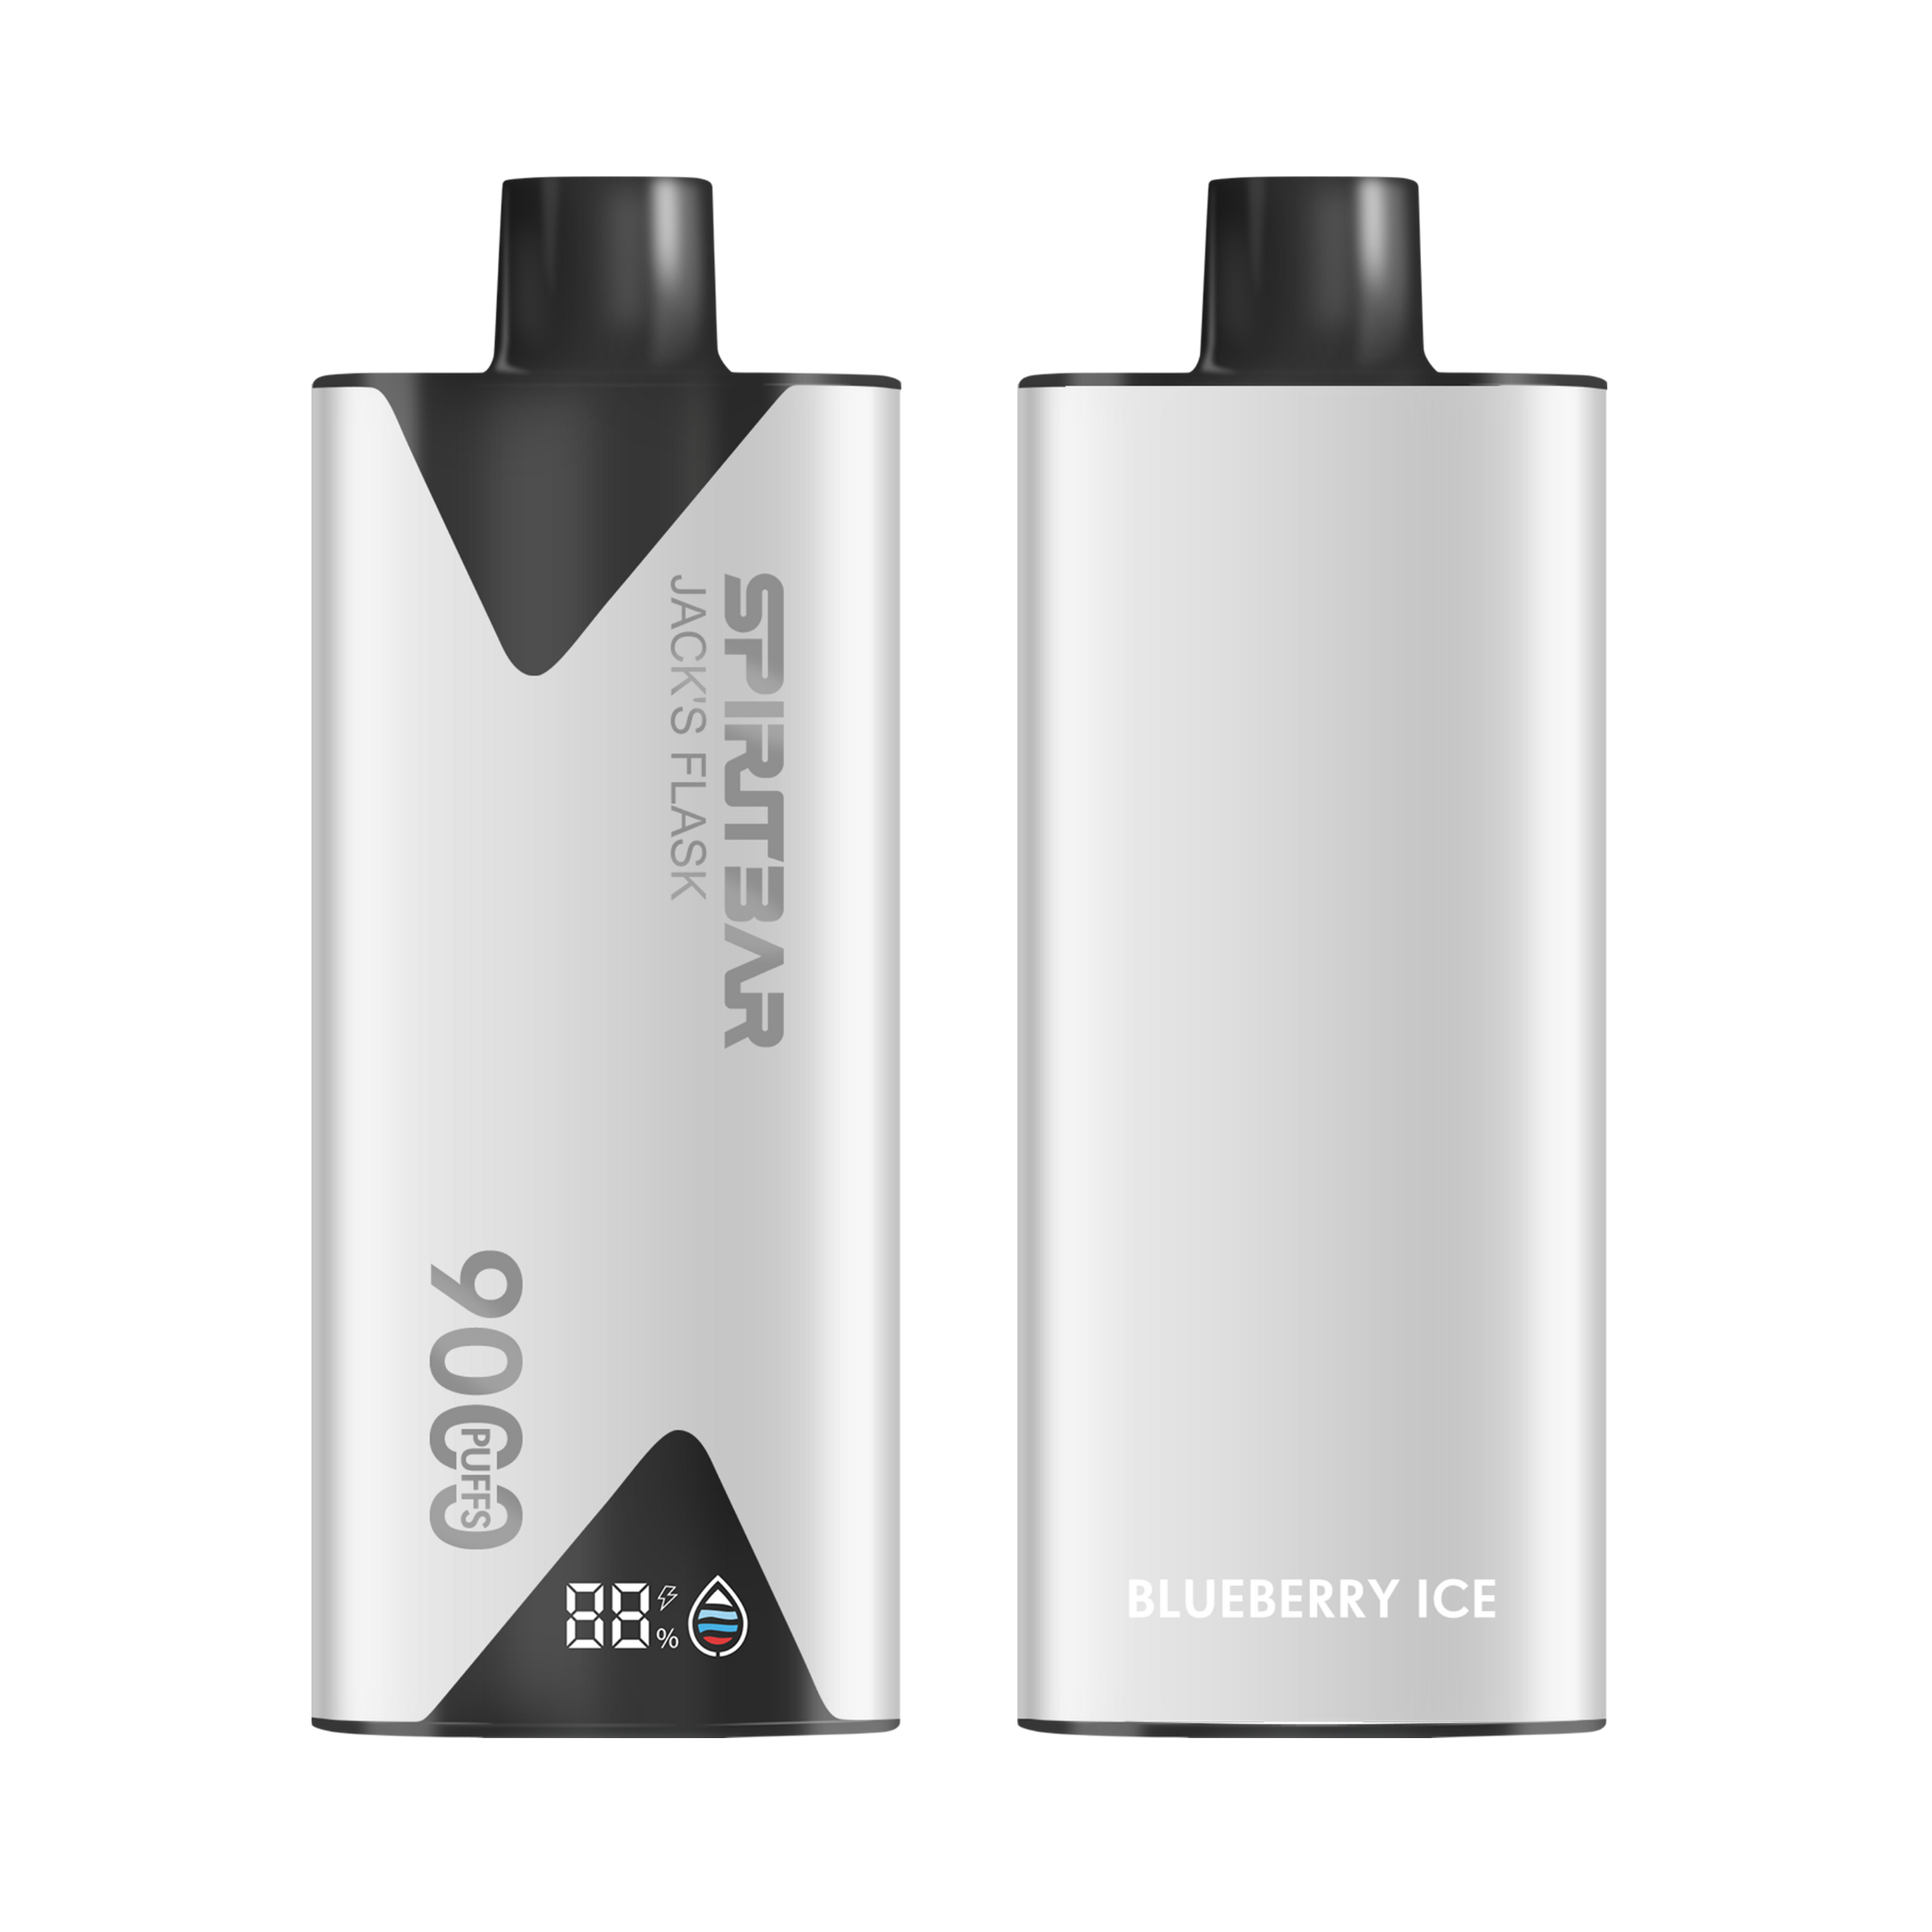
This disposable vape captures the daring spirit of the high seas with its flask styling and signature pirate e-juice flavors. The extraordinary battery life provides 9000 indulgent puffs for extended vaping pleasure. Live boldly and freely with the Jack's Flask - a legendary vaping experience fit for a pirate's adventures.
Before I start changing the coil, I always make sure to gather all the necessary materials. This includes a new coil, a paper towel or cloth, and any tools that may be needed to disassemble the tank. It’s important to make sure that the new coil is the correct size and type for the tank, as using the wrong coil can result in poor performance or even damage to the tank.
Next, I like to empty out the tank and clean it thoroughly. This helps to remove any remaining e-liquid and ensures that the new coil will be able to function properly. I typically use warm water to rinse out the tank, but some vapers prefer to use a mild soap or specialized cleaning solution. After cleaning, I make sure to dry the tank completely before proceeding.
Once the tank is clean and dry, I like to disassemble it in preparation for the coil change. This usually involves unscrewing the tank from the body of the vape and removing the top portion of the tank to expose the coil. I take care to handle the tank gently and avoid dropping or damaging any of the components.
Overall, taking the time to properly prepare for a coil change can make the process smoother and more efficient. By gathering the necessary materials, cleaning the tank, and disassembling it carefully, I can ensure that the new coil will function properly and that my vape will continue to perform at its best.
The special juice captures the essence of the samurai spirit with its rich, smoothly pulsating flavor that brings new satisfaction with every puff. The device's slender, leather-textured design evokes the grip of a samurai's katana, making this product a perfect choice for beginner vapors.
Materials Needed
When it comes to changing the coil in your vape, there are a few materials you will need to have on hand to make the process as smooth and easy as possible. Here are the materials you will need:
Choosing the Right Coil
First and foremost, you will need to choose the right coil for your vape. There are many different types of coils available, each with their own unique features and benefits. Some coils are designed for sub-ohm vaping, while others are better suited for higher resistance vaping. It’s important to choose a coil that is compatible with your specific vape device and that meets your personal vaping preferences.
Additional Tools
In addition to the coil itself, there are a few other tools you may need to change your vape coil. These can include:
- Tweezers: Tweezers can be helpful for removing the old coil from your vape and installing the new one.
- Cotton: If your coil uses a cotton wick, you will need to have some extra cotton on hand to replace the old wick.
- Screwdriver: Depending on your vape device, you may need a screwdriver to remove the old coil and install the new one.
- Cleaning Supplies: It’s always a good idea to have some cleaning supplies on hand to clean your vape device and tank before and after changing the coil.
By having these materials on hand, you can ensure that you are prepared to change your vape coil whenever necessary.
Step-by-Step Coil Change
Changing the coil in your vape is a simple process that can be done in just a few minutes. Here is a step-by-step guide to help you through the process.
Removing the Old Coil
The first step in changing your vape coil is to remove the old one. Here’s how to do it:
-
Unscrew the tank from the body of the vape to expose your coil. Hold the tank upside down and twist the tank off using your hands.
-
Remove the top portion of the tank from the bottom to open the tank and expose the coil.
-
Gently pull out the old coil from the tank and dispose of it properly.
Priming the New Coil
Before installing the new coil, it’s essential to prime it. This process helps to saturate the wick with e-liquid, preventing dry hits and extending the life of the coil. Here’s how to prime your new coil:
-
Drip a few drops of e-liquid onto the exposed cotton on the top of the coil.
-
Allow the liquid to soak in for a few minutes, ensuring that the cotton is fully saturated.
-
Repeat this process until the cotton is fully saturated.
Installing the New Coil
Once your new coil is primed, it’s time to install it. Here’s how to do it:
-
Insert the new coil into the tank, making sure it’s properly seated.
-
Reattach the top portion of the tank to the bottom, ensuring that it’s screwed on tightly.
-
Fill the tank with e-liquid and let it sit for a few minutes to allow the coil to fully saturate.
-
Screw the tank back onto the body of your vape.
Congratulations! You’ve successfully changed the coil in your vape. Remember to dispose of the old coil properly and to prime your new coil before use.
Safety Precautions
This disposable vape captures the daring spirit of the high seas with its flask styling and signature pirate e-juice flavors. The extraordinary battery life provides 9000 indulgent puffs for extended vaping pleasure. Live boldly and freely with the Jack's Flask - a legendary vaping experience fit for a pirate's adventures.
When changing the coil in your vape, it’s important to take certain safety precautions to avoid any potential hazards. Here are a few things to keep in mind:
- Always make sure your device is turned off before changing the coil. This will prevent any accidental firing or short-circuiting.
- If you’re using a rebuildable atomizer, make sure you know what you’re doing. Building coils requires some knowledge of electrical circuits and Ohm’s law. If you’re not comfortable with this, stick to pre-built coils.
- Be careful when handling the coil. It may be hot, especially if you’ve just been vaping. Use a pair of tweezers or pliers to handle it if necessary.
- Dispose of your old coil properly. Don’t just throw it in the trash. Some coils contain heavy metals that can be harmful to the environment. Check with your local recycling center for proper disposal methods.
- If you’re using a sub-ohm tank, make sure you’re using the correct batteries. Sub-ohm tanks require high-drain batteries with a high amp limit. Using the wrong batteries can be dangerous.
- Always prime your new coil before using it. This means saturating the wicking material with e-liquid before firing it. Failure to do so can result in a burnt coil and a bad vaping experience.
By following these safety precautions, you can ensure a safe and enjoyable vaping experience while changing your coil.
Maintaining Your Vape Coil
Maintaining your vape coil is essential to ensure the best possible vaping experience. Here are some tips to help you keep your coil in good condition:
-
Regularly clean your coil: Over time, your coil can accumulate residue from the vape juice you use. This can lead to a burnt taste and reduce the lifespan of your coil. To prevent this, regularly clean your coil by gently wiping it with a dry cloth or paper towel.
-
Prime your coil: Before using a new coil, it’s essential to prime it properly. This involves saturating the coil with vape juice to prevent it from burning out too quickly. To prime your coil, simply add a few drops of vape juice to the cotton wick and let it sit for a few minutes before using.
-
Avoid dry hits: A dry hit occurs when you vape without enough juice in the tank, causing the cotton wick to burn. This can damage your coil and produce an unpleasant taste. To avoid dry hits, always ensure that your tank is adequately filled with juice before vaping.
-
Replace your coil when necessary: Over time, your coil will wear out and need to be replaced. Signs that it’s time to change your coil include a burnt taste, reduced vapor production, and a gurgling sound when vaping.
By following these tips, you can maintain your vape coil and enjoy a consistent, flavorful vaping experience.
Frequently Asked Questions
How often should I change the coil in my Smok vape?
The frequency at which you should change the coil in your Smok vape depends on how often you use it. Generally, you should change the coil every one to two weeks. However, if you notice a burnt taste or reduced vapor production, it may be time to change the coil sooner.
What is the process for changing a coil in a Geek vape?
To change the coil in a Geek vape, first, remove the tank from the battery. Next, unscrew the base of the tank and remove the old coil. Replace it with a new coil, making sure it is securely in place. Finally, reattach the base of the tank and reattach the tank to the battery.
How do I change the coil in my Vape Caliburn?
To change the coil in your Vape Caliburn, first, remove the pod from the battery. Next, remove the old coil from the bottom of the pod and replace it with a new one. Make sure the new coil is securely in place. Finally, reattach the pod to the battery.
Step-by-step guide: changing the coil in a SMOK Nord vape
- Remove the pod from the battery.
- Turn the pod upside down and remove the old coil from the bottom of the pod.
- Prime the new coil by adding a few drops of e-liquid to the cotton wick.
- Insert the new coil into the bottom of the pod and screw it in place.
- Reattach the pod to the battery.
How to replace the coil in a Voopoo vape?
To replace the coil in a Voopoo vape, first, remove the tank from the battery. Next, unscrew the base of the tank and remove the old coil. Replace it with a new coil, making sure it is securely in place. Finally, reattach the base of the tank and reattach the tank to the battery.
What is the correct way to change the coil in a Vaporesso vape?
To change the coil in a Vaporesso vape, first, remove the tank from the battery. Next, unscrew the base of the tank and remove the old coil. Replace it with a new coil, making sure it is securely in place. Finally, reattach the base of the tank and reattach the tank to the battery.