Can you boil a vape coil to clean it? Asking for a friend who likes their coils well-done.
So, you’ve been puffing away on your vape for a while now, and you’ve noticed that your coil is starting to look a little worse for wear. You may be wondering if there’s a way to clean it without having to replace it entirely. Well, the good news is that there are several methods you can try, including boiling your vape coil.
Yes, you read that right – boiling your vape coil. While it may sound a little strange, many vapers swear by this method as a way to get their coils looking and working like new again. But before you go ahead and boil your coil, there are a few things you should know.
Firstly, not all coils can be boiled – so it’s important to check the manufacturer’s instructions before attempting this method. Additionally, boiling your coil may not work for all types of build-up, so it’s worth considering other cleaning methods if you’re not seeing the results you want. But if you’re up for giving it a go, boiling your vape coil could be a quick and easy way to get your coil back in tip-top shape.
The Great Coil Boiling Debate
https://www.youtube.com/watch?v=xRQWyKPIQvo&embed=true
If you’re a vaper looking to clean your coils, you might have heard about boiling them. But is it a good idea? The answer is… it depends! Here are some pros and cons to consider:
Pros of Boiling
- Boiling can help remove stubborn gunk and residue from your coils, which can extend their lifespan and improve your vaping experience.
- It’s a cheap and easy method that doesn’t require any special equipment or cleaning solutions.
- Boiling can also sanitize your coils, which is especially important if you’re sharing your vape with others or have been sick recently.
Cons of Boiling
- Boiling can damage your coils, especially if they’re made of certain materials like ceramic or quartz. The extreme heat can cause them to crack or break, rendering them useless.
- Boiling can also affect the flavor of your e-juice. Some vapers report that boiling their coils makes their e-juice taste “off” or burnt.
- Boiling can be dangerous if you’re not careful. Hot water can cause burns and scalds, so make sure you’re using a pot or container that’s safe for boiling water.
So, should you boil your vape coils? Ultimately, it’s up to you. If you’re willing to take the risk and think it’s worth it, go ahead and give it a try. But if you’re not sure or don’t want to risk damaging your coils, there are plenty of other cleaning methods to choose from.
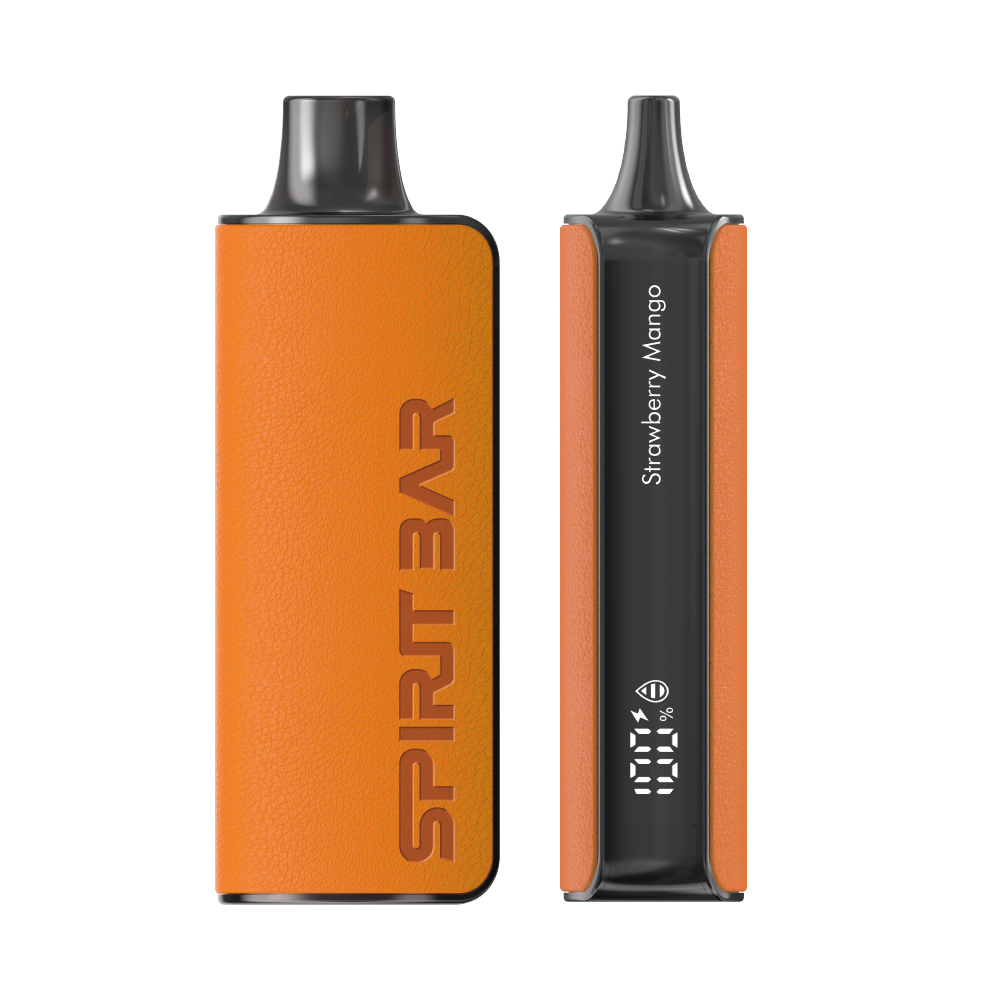
The special juice captures the essence of the samurai spirit with its rich, smoothly pulsating flavor that brings new satisfaction with every puff. The device's slender, leather-textured design evokes the grip of a samurai's katana, making this product a perfect choice for beginner vapors.
The Life of a Vape Coil
Ah, the life of a vape coil. It starts off fresh and new, producing those delicious clouds of vapor that we all love. But as time goes on, it starts to wear down and lose its effectiveness. Eventually, it becomes so gunked up that you can barely taste the flavor of your e-juice.
But fear not, dear vaper! There are ways to extend the life of your vape coil and keep it producing those tasty clouds for longer. One way is to clean it regularly. This can be done by removing the coil from your tank and rinsing it under hot water. You can also use an ultrasonic cleaner or soak it in vodka or other cleaning solutions.
However, some vapers have wondered if boiling their vape coil is a viable cleaning method. While it may seem like a quick and easy solution, it’s important to note that boiling a vape coil can actually do more harm than good.
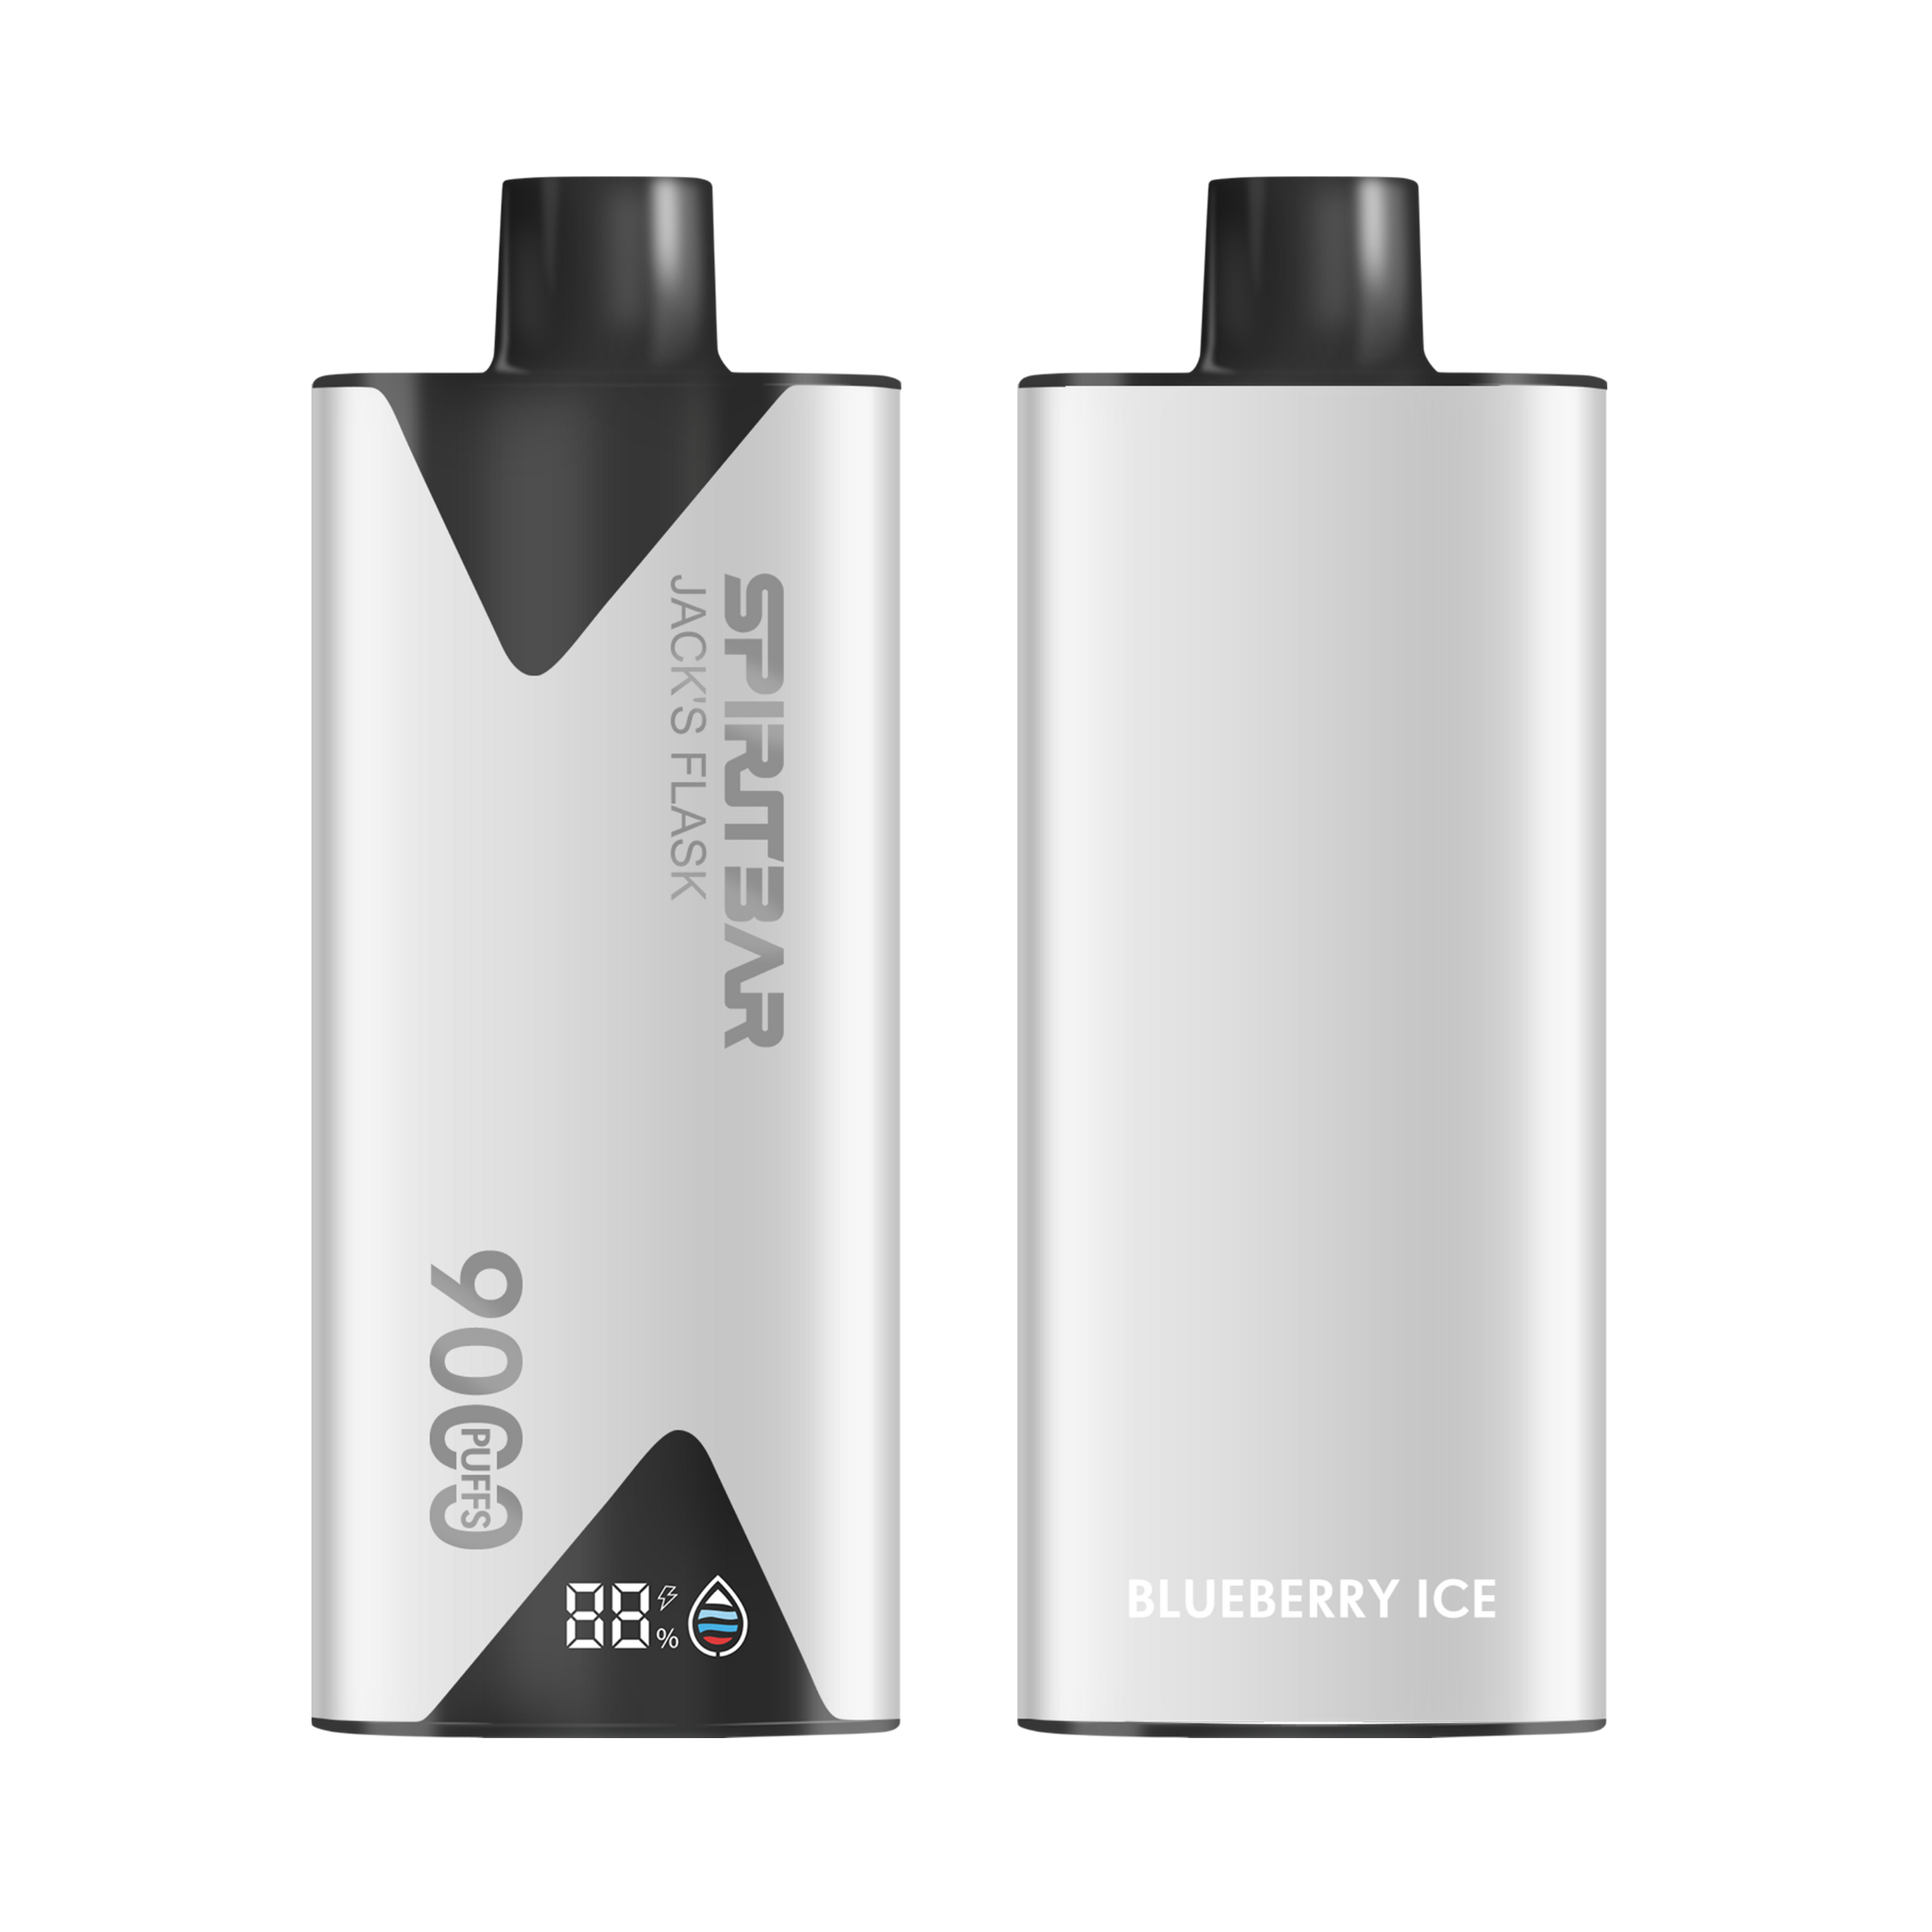
This disposable vape captures the daring spirit of the high seas with its flask styling and signature pirate e-juice flavors. The extraordinary battery life provides 9000 indulgent puffs for extended vaping pleasure. Live boldly and freely with the Jack's Flask - a legendary vaping experience fit for a pirate's adventures.
Firstly, boiling a vape coil can cause the metal to expand and contract rapidly, which can weaken the coil and cause it to break. Secondly, boiling can also cause the cotton wick inside the coil to dry out and become damaged, which can affect the flavor and vapor production.
So, while boiling a vape coil may seem like a tempting solution, it’s best to stick with safer and more effective cleaning methods. Regular cleaning and maintenance will not only extend the life of your vape coil, but it will also improve the overall vaping experience.
Boiling Techniques for the Brave
https://www.youtube.com/watch?v=r-bKh4Dk45A&embed=true
So, you want to know if you can boil your vape coil to clean it? Well, you’re in luck because boiling is one of the most effective ways to clean a vape coil. But before you put on your chef’s hat and start boiling your coils, there are a few things you need to know.
The special juice captures the essence of the samurai spirit with its rich, smoothly pulsating flavor that brings new satisfaction with every puff. The device's slender, leather-textured design evokes the grip of a samurai's katana, making this product a perfect choice for beginner vapors.
The Classic Stovetop Method
The classic stovetop boiling method is the most popular way to clean vape coils. To get started, you’ll need a pot, some water, and your dirty coils. Here’s how to do it:
- Fill a pot with enough water to cover your coils.
- Bring the water to a boil.
- Drop your coils into the boiling water.
- Let the coils boil for 10-15 minutes.
- Remove the pot from the heat and let it cool.
- Take the coils out of the pot and rinse them under cold water.
- Dry the coils with a paper towel or let them air dry.
The Microwave Madness
If you’re feeling a bit more adventurous, you can try the microwave method. This method is not for the faint of heart, so proceed with caution. Here’s how to do it:
- Fill a microwave-safe bowl with enough water to cover your coils.
- Place the bowl in the microwave and heat the water for 2-3 minutes.
- Carefully remove the bowl from the microwave.
- Drop your coils into the hot water.
- Let the coils sit in the water for 5-10 minutes.
- Remove the bowl from the microwave and let it cool.
- Take the coils out of the water and rinse them under cold water.
- Dry the coils with a paper towel or let them air dry.
Boiling your vape coils is a great way to extend their lifespan and keep them clean. However, be sure to handle boiling water with care and always wear protective gloves. Remember, safety first!
Alternatives to Boiling
So, you’re not a fan of boiling your vape coils? No worries, there are a few alternatives that might work for you.
The Soak and Shake
One alternative is to soak your coils in a cleaning solution and then give them a good shake. You can use a variety of solutions, such as alcohol, vinegar, or warm water. The idea is to dissolve any debris on the coils and reach even the smallest crevices.
Once you’ve soaked the coils, give them a good shake to dislodge any remaining debris. Then, rinse them under running water and let them dry completely before reusing.
The Rinse and Dry
Another option is to simply rinse your coils under running water. This is a quick and easy way to remove any residue or debris that might be clogging your coils.
After rinsing, be sure to dry your coils completely before reusing. You can use a cloth or paper towel to gently pat them dry, or you can let them air dry for a few hours.
The Buy and Replace
This disposable vape captures the daring spirit of the high seas with its flask styling and signature pirate e-juice flavors. The extraordinary battery life provides 9000 indulgent puffs for extended vaping pleasure. Live boldly and freely with the Jack's Flask - a legendary vaping experience fit for a pirate's adventures.
If you’re not up for cleaning your coils, you can always buy new ones. While this might seem like the most expensive option, it can actually save you money in the long run.
When you replace your coils regularly, you can ensure that your vape is always performing at its best. Plus, you won’t have to worry about the hassle of cleaning your coils every time they get gunked up.
So, there you have it. Whether you choose to boil, soak, rinse, or replace, there are plenty of options for keeping your vape coils clean and functioning properly.
Safety Precautions When Boiling
So, you’ve decided to give boiling a try to clean your vape coil. Good for you! But before you get started, there are a few safety precautions you should keep in mind.
First of all, make sure you’re using a pot or container that is large enough to fully submerge your coil. You don’t want to risk damaging your coil by boiling it only partially.
Secondly, be sure to use a pot or container that is specifically designated for cleaning your vape gear. You don’t want to risk contaminating your food or drinkware with any leftover residue from your coil.
Before you start boiling, remove any o-rings or seals from your coil. These can easily be damaged or melted by the high temperatures.
Next, fill your pot or container with enough water to fully submerge your coil. Bring the water to a boil, and then carefully lower your coil into the water.
Boil your coil for no more than 10-15 minutes. Any longer than that and you risk damaging your coil.
Once your coil is finished boiling, carefully remove it from the water using tongs or a heat-resistant glove. Allow it to cool completely before handling it.
Finally, give your coil a thorough rinse with warm water to remove any remaining residue. Dry it off completely before reassembling your vape.
Remember, safety first when boiling your vape coil!
Myths About Coil Cleaning
Ah, coil cleaning. It’s a topic that sparks a lot of debate among vapers. Some swear by it, while others think it’s a waste of time. Here are some common myths about coil cleaning that you may have heard:
Myth 1: Boiling your coils is the best way to clean them
Sure, boiling your coils might seem like a quick and easy way to clean them, but it’s not always the best option. In fact, boiling your coils can actually damage them and reduce their lifespan. Plus, it’s not always effective at removing all the gunk and residue from your coils.
Myth 2: You can’t reuse coils after cleaning them
While it’s true that cleaning your coils won’t give you that fresh coil vape experience, you can still reuse them. However, keep in mind that the lifespan of a vape coil is between 7-21 days, depending on what coil you are using. So, if your coils are already nearing the end of their lifespan, cleaning them may not be worth it.
Myth 3: You need special tools to clean your coils
While there are some specialized tools available for cleaning your coils, you don’t necessarily need them. A simple cotton bud or Q-tip can do the trick in most cases. High VG e-liquids particularly can cause coils to gunk up quickly, so it’s a good idea to clean them regularly.
Myth 4: Cleaning your coils is a waste of time
This is a common misconception among vapers who don’t see the point in cleaning their coils. However, regular coil cleaning can help prolong the lifespan of your coils and improve the flavor of your e-liquid. Plus, it can save you money in the long run by reducing the need to replace your coils as often.
So, there you have it – some common myths about coil cleaning debunked. Remember, while cleaning your coils may not be necessary for everyone, it’s always a good idea to keep them clean to ensure the best vaping experience possible.
Frequently Asked Questions
You’ve got questions, we’ve got answers! Here are some common questions people ask about boiling vape coils:
Can you boil a vape coil to clean it?
Yes, you can boil a vape coil to clean it. Boiling is a popular method for cleaning vape coils because it’s easy and effective. Just make sure you use distilled water and don’t boil the coil for too long, or you risk damaging it.
How long should you boil a vape coil?
You should boil a vape coil for about 10-15 minutes. This should be enough time to remove any gunk or residue that has built up on the coil. Be sure to keep an eye on the coil while it’s boiling to make sure it doesn’t get damaged.
Can you reuse a boiled vape coil?
Yes, you can reuse a boiled vape coil, but it’s not recommended. Boiling a vape coil can weaken the metal and reduce its lifespan. It’s better to replace the coil with a new one if it’s too dirty to use.
What should you do after boiling a vape coil?
After boiling a vape coil, you should rinse it thoroughly with distilled water and let it dry completely before using it again. You can also use a paper towel or cloth to gently pat it dry.
Can you boil any type of vape coil?
No, you should not boil all types of vape coils. Some coils, like ceramic coils, should not be boiled because they can crack or break. Check the manufacturer’s instructions before boiling a vape coil to make sure it’s safe to do so.
Is boiling the only way to clean a vape coil?
No, boiling is not the only way to clean a vape coil. There are other methods you can use, like soaking the coil in vodka or using an ultrasonic cleaner. Experiment with different methods to find the one that works best for you.